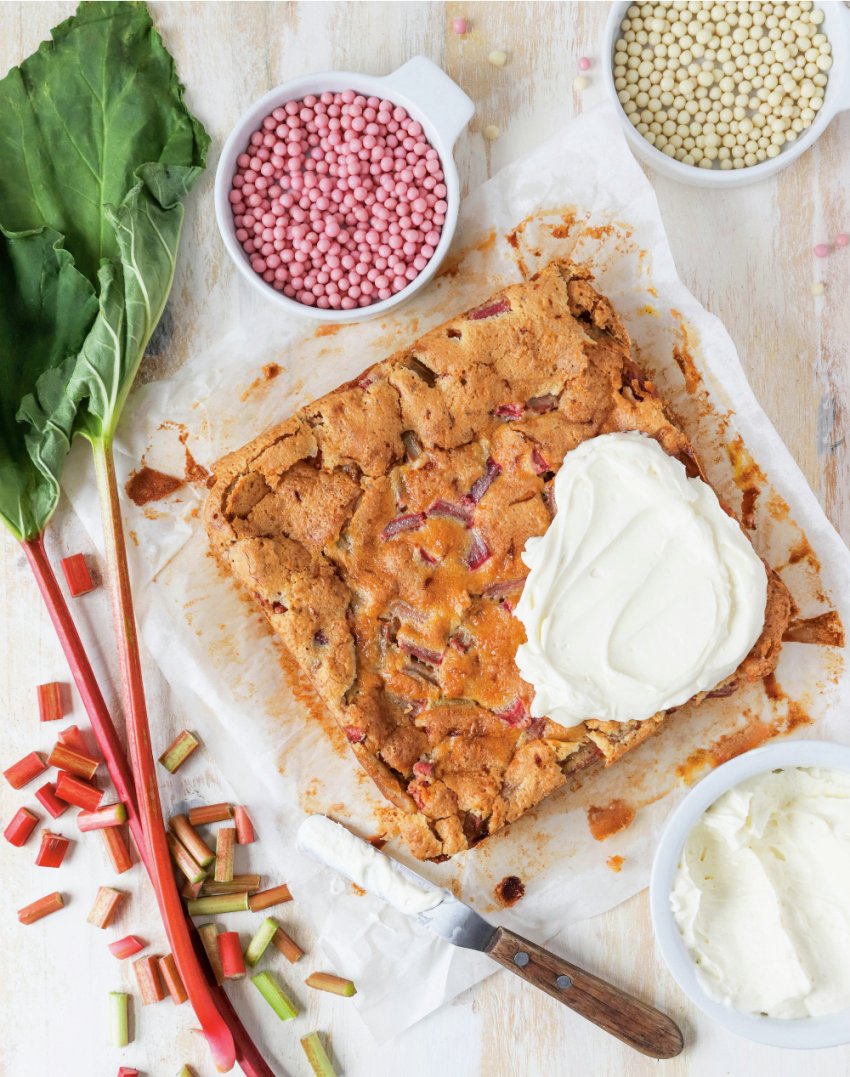
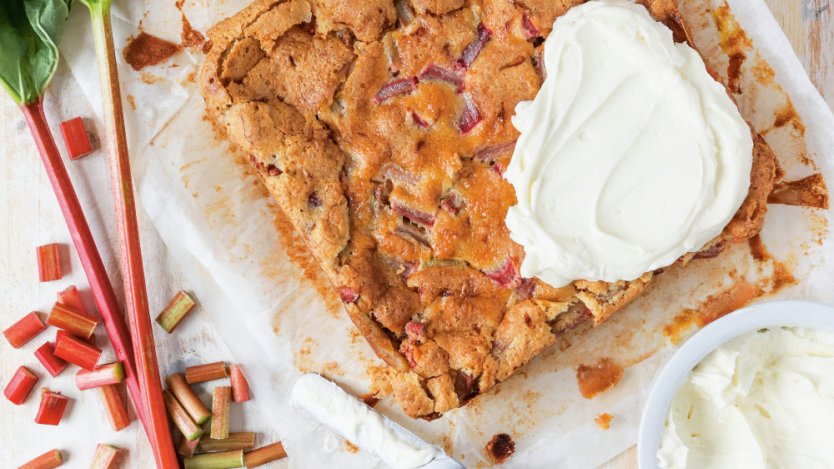
As slow as it seems to emerge from the ground in the springtime, once rhubarb gets going, it is a plant that never stops giving.
It's because of this never-ending bounty of rhubarb that we're always happy to discover a new way to utilize it. This straight-forward, delicious dessert square recipe from the folks behind Hamilton's Cake & Loaf Bakery—by way of their new cookbook, out March 14, 2023—makes for a perfect sweet treat at a time of year where the snow may have melted away, but fresh fruit and berries are far from ripe for the picking.
"The shortbread crust and creamy custard balance out the rhubarb’s sourness perfectly. We make this custard bar at the bakery with many different fruits throughout the seasons. Peach and strawberry are two other fruits that work well, and you can switch out the same amount of those fruits in these bars," explain the co-authors in the introduction to this recipe in Cake & Loaf Gatherings.
While rhubarb won't be back popping up until May in most provinces, you can typically find frozen Canadian rhubarb at most grocers year-round—and that goes for things like cherries, strawberries, blueberries and haskaps too.
Shortbread base

In a medium bowl, stir together the flour and sugar. Using a pastry cutter, cut in the butter until the mixture resembles coarse crumbs.
Press the shortbread mixture evenly into the bottom of the prepared pan. Bake for 12 to 15 minutes, or until the top of the shortbread looks dry but not brown.
Allow to cool while you prepare the filling.
Custard filling
In a medium bowl, whisk together the sugar and flour until combined. Whisk in the cream until smooth. Whisk in the eggs and vanilla and mix until smooth. Set aside.
Evenly spread the rhubarb over the cooled shortbread base. Pour the custard filling over the rhubarb. Bake for 40 to 45 minutes, or until the custard is firm and lightly browned. Allow to cool to room temperature and then cover the pan with beeswax or plastic wrap and place in the refrigerator for 2 hours before icing.
Icing and cutting the bars
In the bowl of a stand mixer fitted with the whisk attachment, whip the whipping cream on medium-high speed until it forms stiff peaks, 2 to 3 minutes. Transfer the whipped cream to a small bowl.
Return the bowl to the stand mixer (you don’t need to wipe the bowl or whisk clean). Add the dreamy cream cheese icing to the bowl and whip for 2 to 3 minutes on medium-high speed to fluff up the icing. Gently fold the whipped cream into the fluffy icing. Using a small offset palette knife, spread the icing evenly over the top of the cooled bar.
Cut the bars using a warm chef’s knife by dipping it into hot water and drying it on a clean kitchen towel. Wipe the knife between each cut to get nice clean cuts.
Do Ahead: These bars can be baked and stored un-iced, covered, in the refrigerator for up to 2 days. You can make the cream cheese icing ahead and store it in an airtight container in the refrigerator for up to 1 month, but do not fold it with the whipped cream until you are ready to ice and serve.
- Yield:
- One 8-inch square pan; nine 2½-inch square bars
- Prep Time:
- 25 minutes
- Cook Time:
- 60 minutes


![Image for [node:title]](/sites/default/files/styles/article_freeheight/public/cake_and_loaf_gathering_cookbook_release_date_2023_0.jpg?itok=-eyLzCZ0)


